Showing posts with label decoupage. Show all posts

12/19/15

NEW Product line available in my Etsy Shop!

No doubt my illustrated decoupaged Pill Boxes are a success. These small boxes have traveled to there new homes all over the world! How cool is that? This new line has expanded into a bigger size "Powder Box"  2-1/4" Width X 1-5/8" Height . All box are decoupaged with a high quality print. Some details of the images have been applied with embedded "Sparkle" glitter yielding a unique look. 
Each box is sealed with many layers of High quality Artist grade Varnish, time consuming, YES!
 BUT so worth it, yielding a HIGH END look! 
Be on the lookout for more designs to come.
Available here:

Available here:


Available here:

All items and materials are non toxic and 100% Made in the USA!

10/21/15

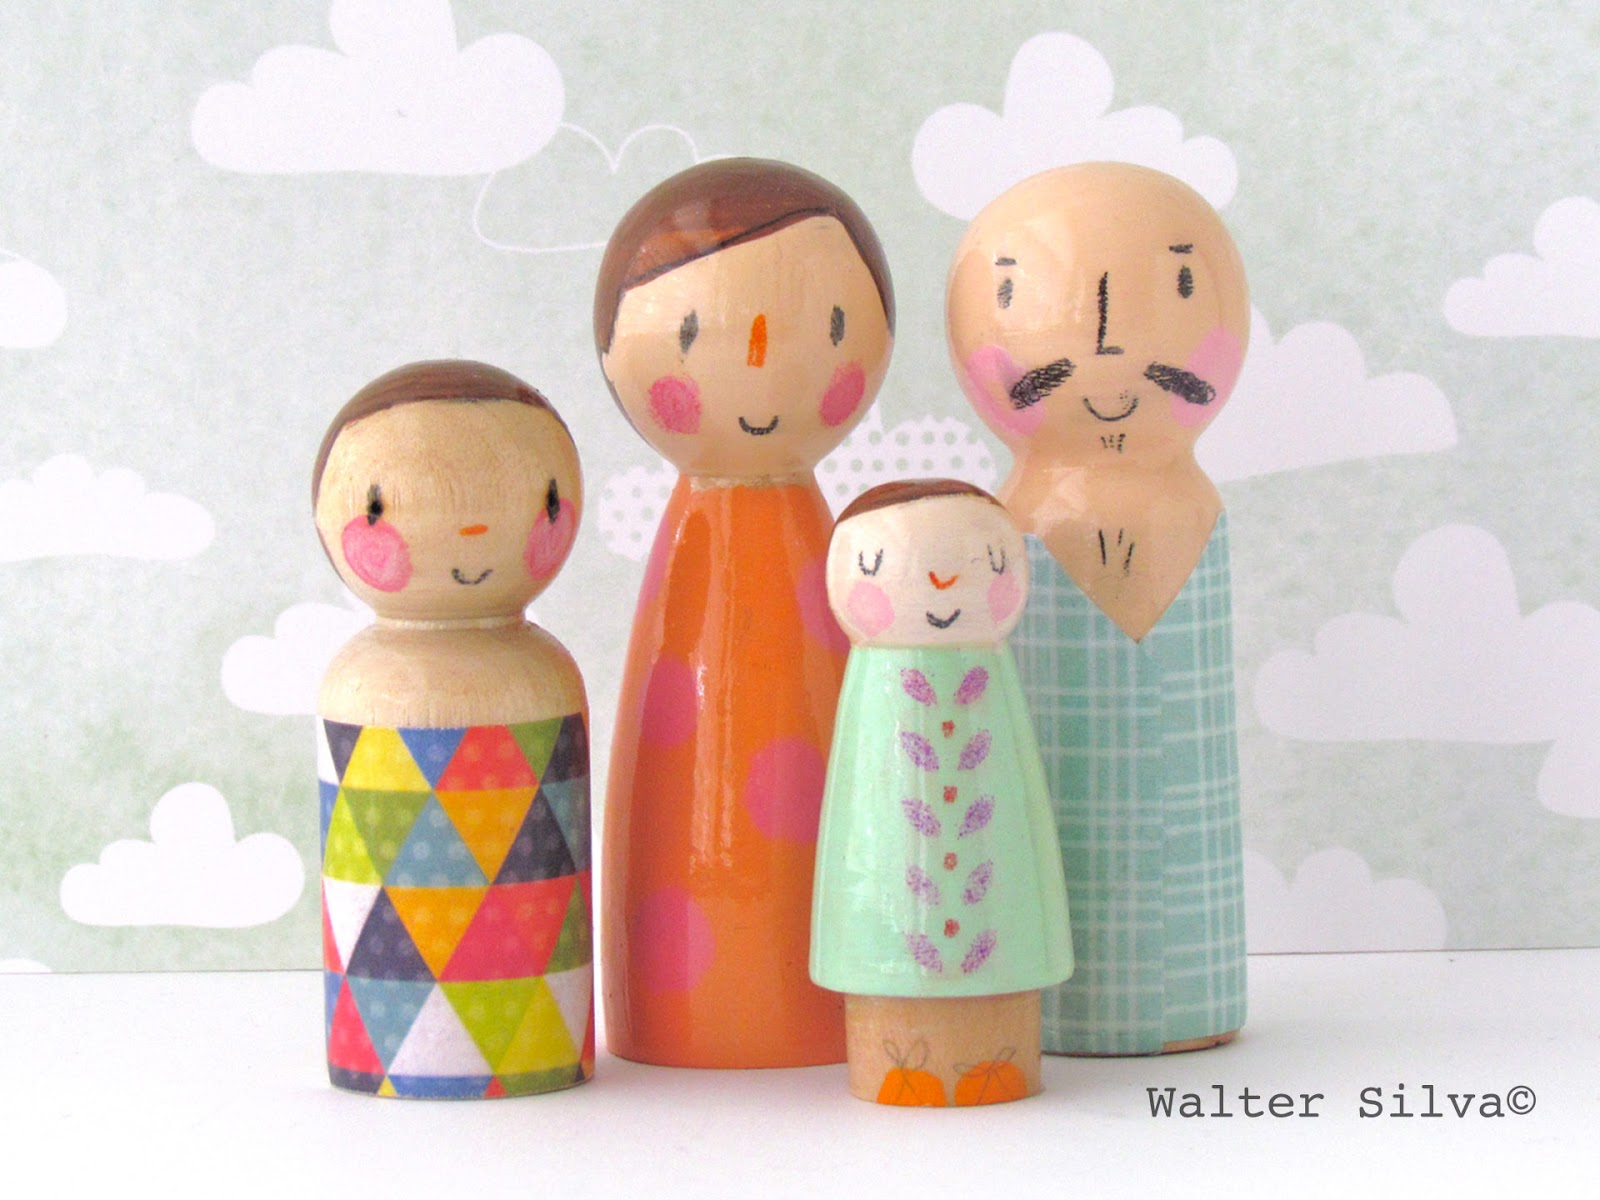
Peg Dolls completed

Finally got around to finishing these handmade toys.


Very pleased with the results, super cute!
This modern trendy toys are 100% handmade fun.
• Hand painted
• Hand drawn
• Decoupaged 
All made with 100% Non Toxic Materials.
Available here.

8/26/15

New Zeus Sun Plaque finished

Just completed and listed this mini Zeus Wall assemblage to my Etsy shop!


 Back is decoupaged with a faux embroidery "Love" paper.


Ready to hang and available here:

5/30/15

I spot one of my product designs in the latest issue of UPPERCASE 25


Nothing like opening up one of my favorite periodicals 
and seeing one of my Product Designs featured!
This is the cover to the latest UPPERCASE 25 Magazine.
The Printmaking edition.


There it is on page 11.  My Print inspired photo-frame!
Made with Color Bars cut from the Ends of a Print Run.
I decoupaged these strips onto a Frame and sealed 
with Hard coat Mod Podge. 
What a great way to re-purpose those bright strips of paper
 that would have ended up in the landfill.
These bright strips of color together remind me of Quilts!


A limited edition is available at my Etsy Shop.
Thanks UPPERCASE.

5/10/15

Featured in the Premiere issue of ROOM To CREATE

It's always a great feeling of accomplishment seeing an item of mine featured in a magazine!
ROOM To CREATE is a great magazine featuring incredible craft spaces of inspired women and more...

Pages 12 and 13 feature favorite storage finds found on Etsy! My Geometric Butterfly Crayon / Pencil holder on Page 13, #3 was selected!

Its a wonderful periodical and look forward to the next issue!

4/17/15

Decoupaged Caddy with Vibrant Papers


What a great way to organize and store craft supplies in one place & ready for on the go organization!


Despite a few nicks and scratches. This caddy was in great shape and made well.
Perfect and ready to be transformed!
Supplies List:
• Caddy
• Paper
• Any decoupage medium, I chose Hard Coat Mod Podge
• Brush
• Pencil and scissors.
• Fine grit Sandpaper (OPTIONAL)

TIP: I use a dollar store, dough scraper that is one of the best tools ever.
It is made of plastic, has a beveled edge, flexible and easy to clean with soapy water.


I choose some on trend Vibrant patterned card-stock.
Decided with polka dotted paper for the ends & Herringbone pattern for the sides.
• Traced the side(s) of the caddy onto the papers. And cut out the shapes with scissors.
• Layout the paper(s) for each side (see photo).
Ready to be decoupaged!
• Apply Mod Podge to the the side of the caddy & to the bottom of the card-stock.
I work on one side at a time & allow drying time (20 minutes), so that I can trim excess paper before I move onto the next side.


To make sure I have excellent contact, this is were my trusty dough scraper acts like a squeegee.
Start from one end to the other & wipe off excess medium (Q-tips work well)! This will eliminate air bubbles and smooth out the card-stock.

CAUTION: Some popular decoupage squeegees are made of black rubber and do not glide well & leave black residue on the paper!

After I finished decoupaging all four sides, I took some fine grit sand paper and slightly sanded some random edges (optional step).
Wipe any excesses dust from the sanding!
With a nice brush apply Hard coat medium in the same direction and let dry for about 30 minutes!
Hard coat is a excellent, non toxic & durable sealer.

Voila, Project is completed! Great for storing utensils, make-up brushes, Markers, pencils, etc!

This example is available for Sale in my Etsy shop.

Thanks for stopping by!

7/18/14

DIY - Nautical Keepsake Box

I get a lot of inspiration when I visit my favorite beach...
The trek alone takes over a hour and a half on foot, 
no other way to get there... And it is so worth it! 
I always seem to pick up white stones and shells, when wet they look magical... These little gifts from mother nature make me smile.
So, I decided what I needed is a container to house these special treasures. A little rustic Nautical keepsake box. 
This is how I made it! 


Supplies:
• Antique Matte Mod Podge
• Gloss Mod Podge ( You can use any Mod Podge)
• Mod Podge Tools
• Unfinished Wood Box
• Brushes
• Folk Art Stains (Love this product)
• Papers and prints to decoupage (Make sure they are copyright free)
• Sand paper or file (Not shown) for a rustic look (Optional)


• Stain the whole box with any Folk Art Stains.
Let dry...
• Dab a little stain on the edge of the Print, let dry...
Next,
• I decoupaged a piece of "Net" like paper on the top of Box, let dry...
Then, I decoupaged the "dry" print on top of the "net" like paper, this yields a
nice border frame.


Then I decoupaged the interior bottom and Top of box, let dry!
All images came from the Graphics Fairy & altered in Photoshop.


• Sanded some of the edges of the box, aiming for a Rustic Nautical Look!
• Wipe clean...
Then I sealed the whole box with Antique Matte Mod Podge, let dry ( 10-20 minutes ) and repeat!
Use more coats till you get the desired antique look, I used 3 coats.
Let dry....


Project completed!
Ready to fill with my treasures found on Cape Cod beaches!

Check out this Fun You Tube video of this tutorial: 


6/19/14

Product photography...

Today, I am working on product photography... one of many captures of a Polka dotted Elephant pencil, markers and/or crayons holder. Solid wood with decoupaged sides. 
Middle is painted with lilac chalk paint. Available soon in my Etsy shop.

1/29/14

DIY - Rustic Snowflake Coasters

These Snowflake coasters are beautiful and well made.
Made from recycled materials and Mod Podge. 
Here is how I made them. 

Supplies
• 2013-14 Whole Foods Market Shopping Bag
• Gloss Mod Podge (Any Mod Podge will do)
• Mod Podge Tools
• Paint Brush
• Circular Wood Discs (I choose custom Laser cut Baltic Birch)
 
Deconstruct the Bag, trace and cut.
• Apply Mod podge to wood disc and 
then to the bottom of the Cut Paper.
Tip: Use the Mod Podge squeegee for a "Air bubble" free contact. 
Repeat till completed (I made a set of 4). 
• Then I cut cork circles about 1/4" smaller than the wood discs.
Apply cork circles with Tacky or White glue to the bottoms. 
Let dry according to product label.
Then seal the top of Coasters with Polycrylic.
Voila! Project completed! 
Now, I have a coaster to place my
 NEW Lumberjack mug on. 
No time to make this? 
No worries, I have them available for sale in my shop.


9/11/13

Introducing Bear with Bow tie ART Hanging for a Child's Nursery


• Original illustration 6x6" Print created by me and Mounted onto a quality
wood Art Panel.
• Sparkle glitter is applied to the bow tie...
• Sides are painted in a vibrant Barn Red.
(see photos)
• Sealed with High quality Non Toxic UV Artist grade Varnish.
• Certificate attached to the back and Signed.
Available in both shops:
http://silvaware.bigcartel.com/product/bear-with-bow-tie
https://www.etsy.com/listing/80801586/bear-with-bow-tie-wall-art-panel-baby

5/20/13

Silva Ware is having a SALE!

I am sort of moving all Baby & Children
related items to my Shop on big cartel
I will still be offering the items on Etsy too,
but eventually I will be selling different Art items geared
for teenager to Adults in my Etsy shop. 
This is what happens when you have so many styles...
Enter the coupon code: FACEBOOK for 15% Off your total purchase.
Sale ends on Midnight, June 02, 2013.
Thanks for all your support!
http://silvaware.bigcartel.com/

3/18/13

I am so ready for Spring and Summer!

Just heard on the radio that we may get another snow fall?
I really hope not!.. We certainly have had way more than anticipated!
With that said, I have been busy creating a 
NEW collection of SUN wall plaques.
Love making these, they make me smile!
See this Sun Queen here.

3/4/13

PTteam560 Member of the Month Interview


Honored when asked by the PTteam560 Blog for an interview. 
The first of four interviews was posted today. 
Curious how I come up with ideas? 
My Work space? Read more here.

10/5/12

Let's play Halloween Tic-Tac-Toe

New item inspired by Vintage Halloween imagery and 
Made with Mod Podge & Plastic Bottle Caps... 
Listed in my shop here:

Happy Columbus Day Weekend and Happy Thanksgiving 
to my Canadian Family and Friends.

10/3/12

Introducing New Shop Packaging

Introducing New "Silva Ware" Shop Packaging for 
Magnets, Necklaces and Pill Boxes.
All these items will ship in a Poly-Bag with "Silva Ware" Topper 
ready for Gift Giving.
See them here.

9/14/12

Have a Happy Day!

Introducing a Brand New Pig Design.
This Piglet magnet will look great 
on the family Fridge holding your
 "to do list" and/or "kids Art" etc...

view full image
 Available here. Have a great weekend!

8/3/11

Catch of the Day!

Inspired by a recent trip to Cape Cod, MA. Check out my latest project for Mod Podge Rocks Blog, here and it is also available for Sale here!